
3D rendering refers to the process of creating a 2-dimensional image from a digital 3D scene. 3D rendering is widely prevalent among architects, designers, and real estate professionals. Advancements in technology and digitization facilitate 3D rendering to bring ideas into reality.
Let’s quickly dive into the article further to explore how to do 3D rendering for interior design.
Key takeaways
- 3D renderings have become invaluable assets in the rapidly evolving world of architecture and real estate. They have successfully transformed their conventional role in presentation and issue resolution and are now serving as potent marketing tools.
- Interior renderings are proven to be a worthwhile investment. They help save a lot of money by preventing construction errors and providing good returns.
- 3D interior rendering is a cost-effective and visually appealing way to showcase and explain design ideas, captivating you in the process. As technology progresses, the future of 3D rendering holds promising possibilities for design and real estate.
How to render interior design?
 Exploring interior design is like turning ideas into exciting visuals. It starts by getting your input and your requirements. By carefully combining design elements, we make sure the result is not just realistic but also uniquely tailored to your vision.
Effective communication is critical to this collaborative process, which results in satisfying and visually appealing interior designs. Let’s dive into the steps of how to do 3D rendering for interior design:
Step 1: gather information and inspiration
First, it’s important to gather the information from your end to get your vision. We start by gathering all the information, inspiration, and requirements from real estate agents, architects, photographers and real estate developers.
Don’t miss the necessary details on the floor plans, measurements, and materials. We consult with them to understand their personal choice and perspective. This gives a personalized touch to the model. We ensure that the 3D rendering captures the essence and vision of your idea.
Step 2: 3D modeling of an interior design
Once we have gathered all the essential information, we start building the 3D model of the area. We include all the relevant details like the furniture, decor, lighting, etc. Precision is the key to realistic models. So, we precisely follow this step while crafting a 3D model. This step acts as a framework for the entire rendering process.
Step 3: Rendering your 3D model into an interior rendering
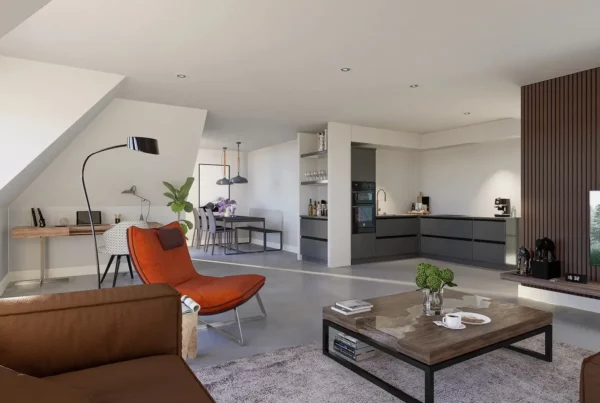
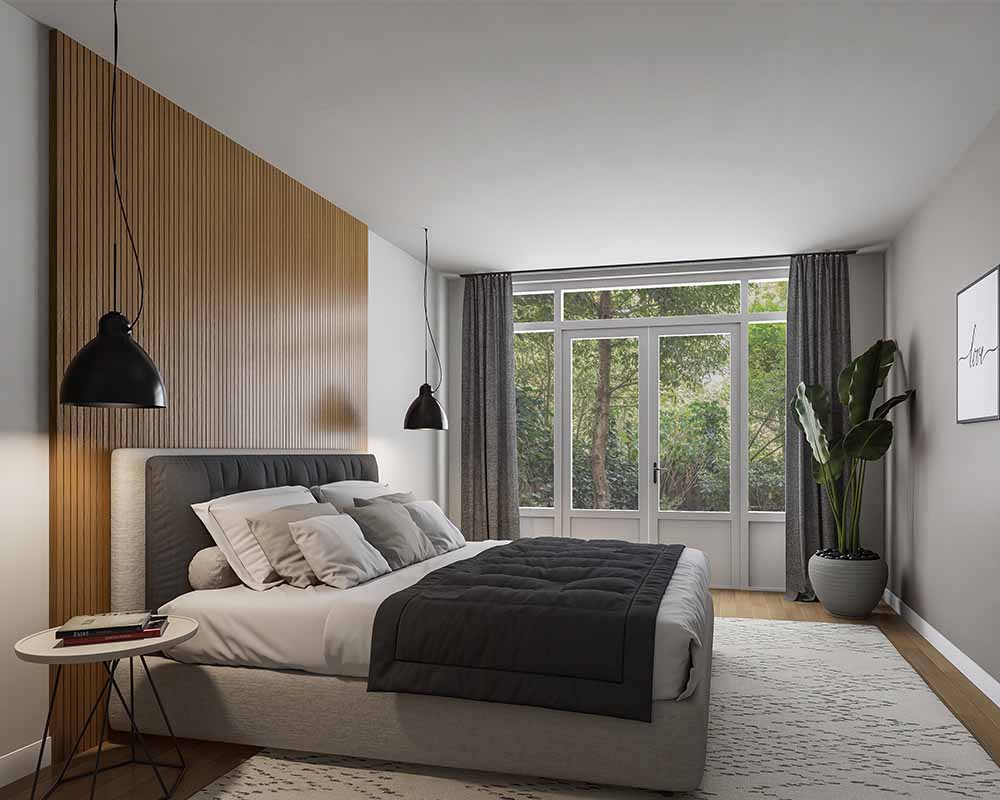
With the completed 3D model as the foundation, the next crucial step is transforming it into a visually stunning interior rendering. Here, we adjust lighting, shadows, and textures to achieve a photorealistic representation of the envisioned interior.
We have to pay attention to the interplay of light and shadow, as it significantly influences the ambiance of the space. The rendering process is where the design truly comes to life. In this process, we provide you with a vivid preview of your future environment.
Step 4: Adding entourage to a 3D rendering for an interior design
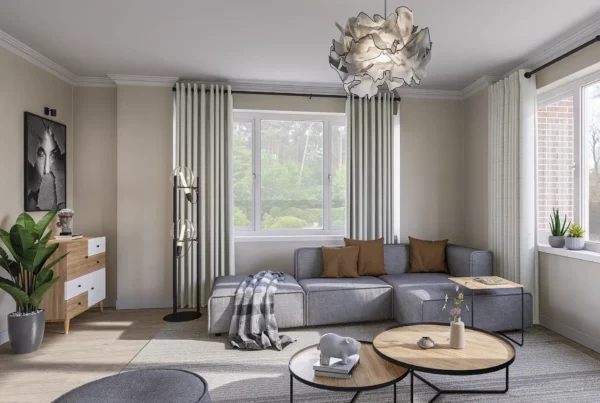
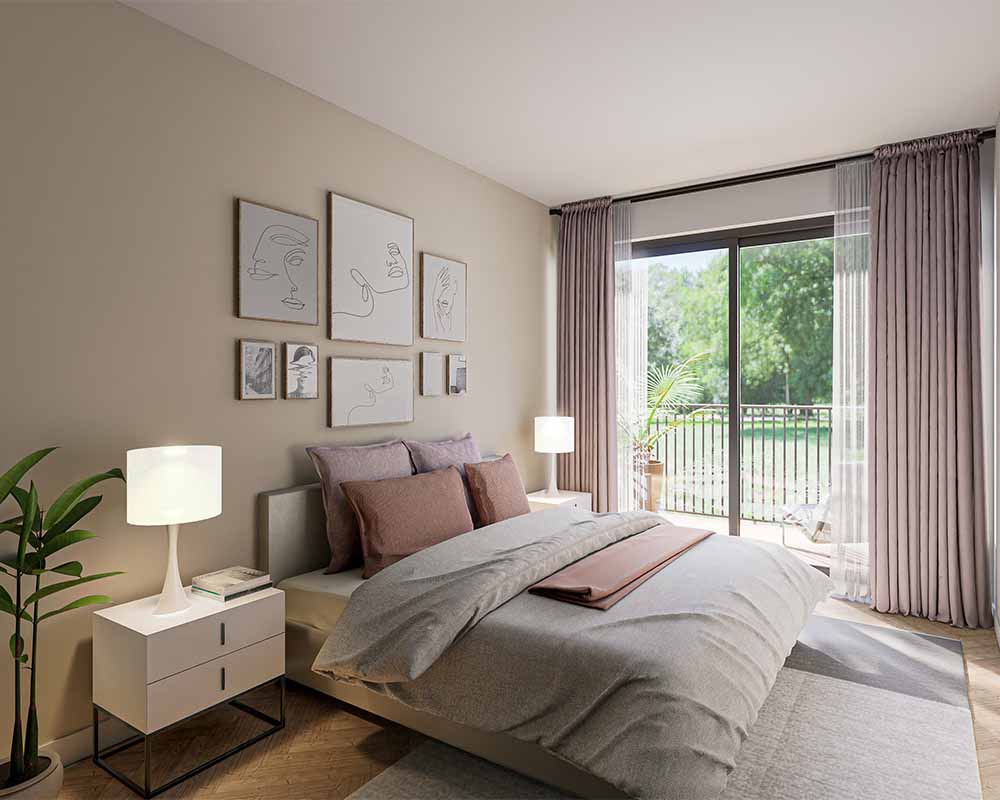
 To enhance the realism and atmosphere of your interior rendering, we incorporate entourage elements strategically. Here, we consider adding people, plants, decorative items, and other contextual details that complement the design. These elements contribute to a sense of scale and functionality, making the rendering more relatable and immersive.
Thoughtful placement of entourage items ensures that the rendered space not only looks aesthetically pleasing but also feels lively. We pay attention to the finer details, as they can elevate the overall quality of the interior design and create a compelling visual narrative.
Step 5: Finalizing a 3D rendering for an interior design
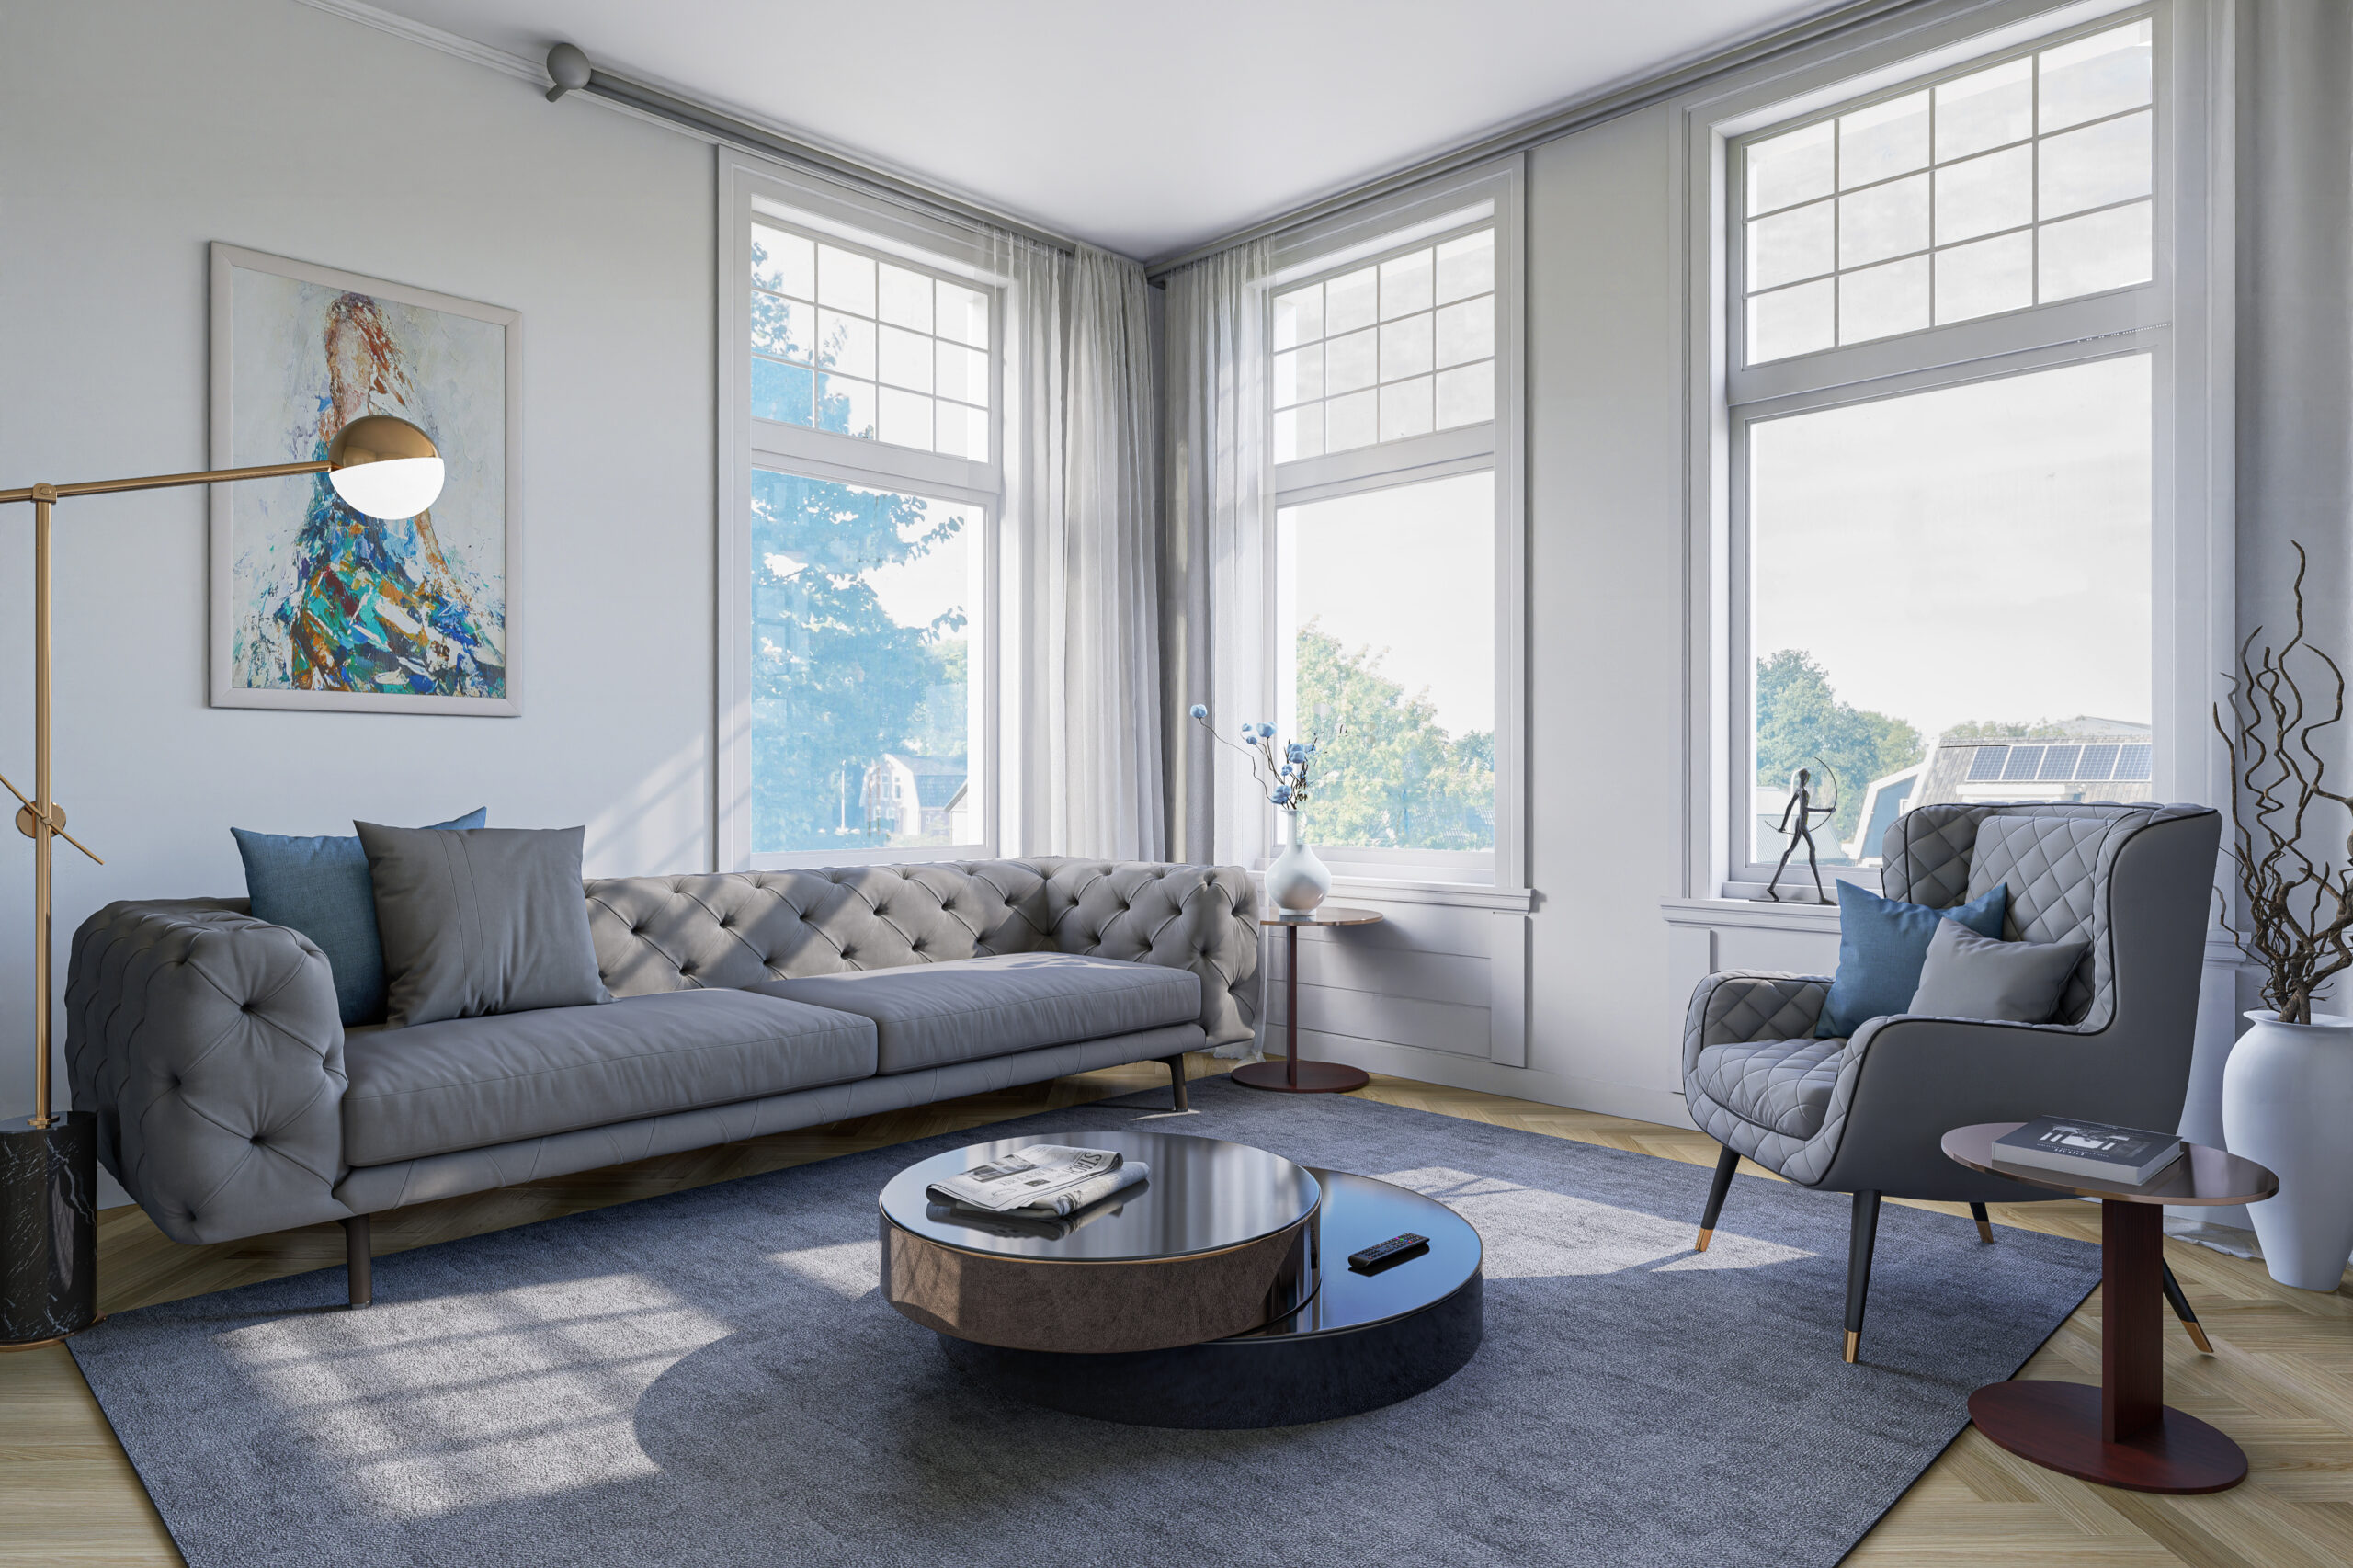
After completing the 3D rendering model, we present it to you. So, if you have any specific changes or adjustments, we can add them while finalizing the model. In this step, we add finishing touches for a realistic look. We exhibit the design such that it captures the essence and vision of the design. We make sure that you are fully satisfied with the final look.
Step 6: Effective collaboration
Collaboration is a vital factor in the interior designing process. We communicate with you effectively to understand your mind and bring that vision to life. We try to incorporate adjustments into the model as per your demand-specifics. Collaboration plays a significant role in developing a good connection, in turn, brings great results.
These are the complete steps on how to make 3d interior design.
Timeline of a 3D rendering for interior design
The 3D rendering process for interior design follows a sequential timeline. It begins with the creation of 3D models and then progresses through various stages. These stages include grey-scale rendering, color rendering, and your feedback.
 This structured approach allows for an articulate exploration of design possibilities. It ultimately leads to the delivery of final high-resolution renderings that bring interior concepts to life.
Step 1: Create models
The first step is constructing 3D models based on existing drawings or sketches. If you already have a 3D model, enhance and utilize it. In cases where only sketches are available, generate a new 3D model using these sketches as a guiding reference.
Step 2: Color rendering
Once the studio settles on the chosen angles and design, we compile all the relevant information and incorporate lighting and textures into the 3D model. This process demonstrates a lifelike depiction of the interior, and then we submit it to you for evaluation.
Step 3: Implement changes & deliver final images
Typically, adjustments are necessary, and you may request modifications to ensure the images align with their preferences. Most 3D studios permit a few rounds of changes, although more iterations may be required for intricate projects. After making all adjustments, they deliver the final high-resolution renderings.
The reality and cost of creating your renderings
Understanding the cost associated with rendering services is crucial for anyone seeking visualizations for residential or commercial projects. Prices can vary widely depending on the type and complexity of the rendering. It’s essential to be aware of the price ranges for different rendering types to make informed decisions.
Exterior residential rendering
The lower-end exterior residential rendering offers a simple yet effective representation, while the higher-end offers more vivid photographic renderings and even animated tours of the exterior.
Exterior commercial (small)
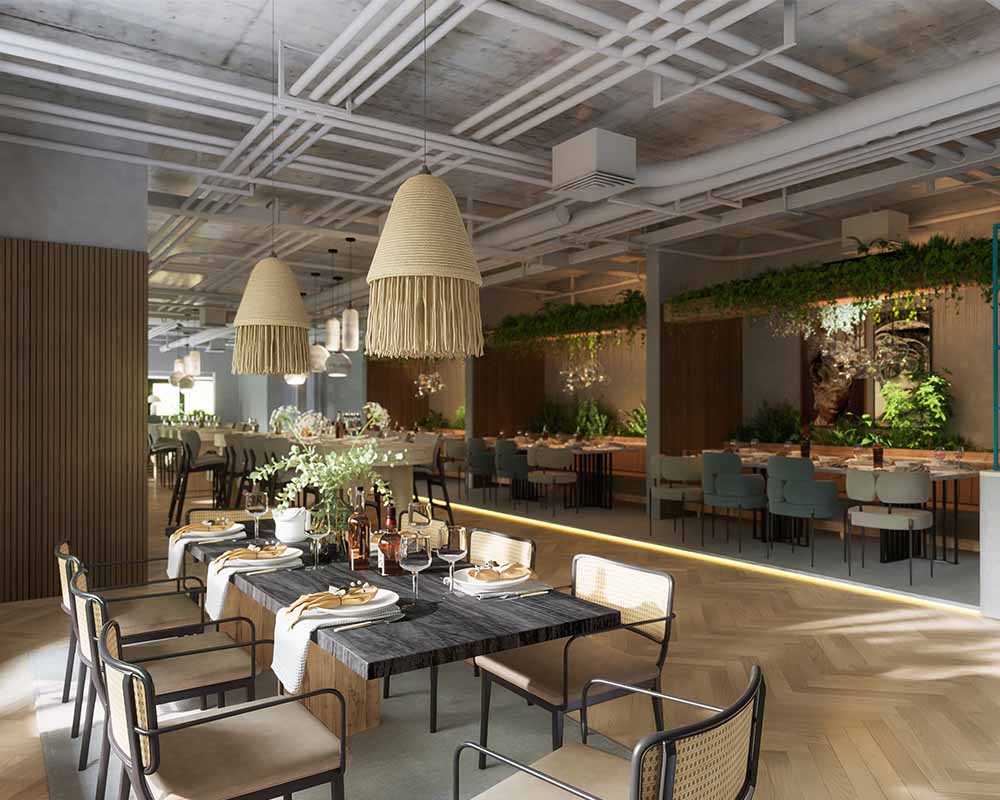
Small commercial establishments, such as individual shops or small restaurants cater to visually showcasing smaller commercial properties.
Exterior commercial (large)
This tier of service is designed to handle extensive and visually intricate projects with confidence. Larger commercial projects, like resorts, theme parks, or large office buildings fall in this category.
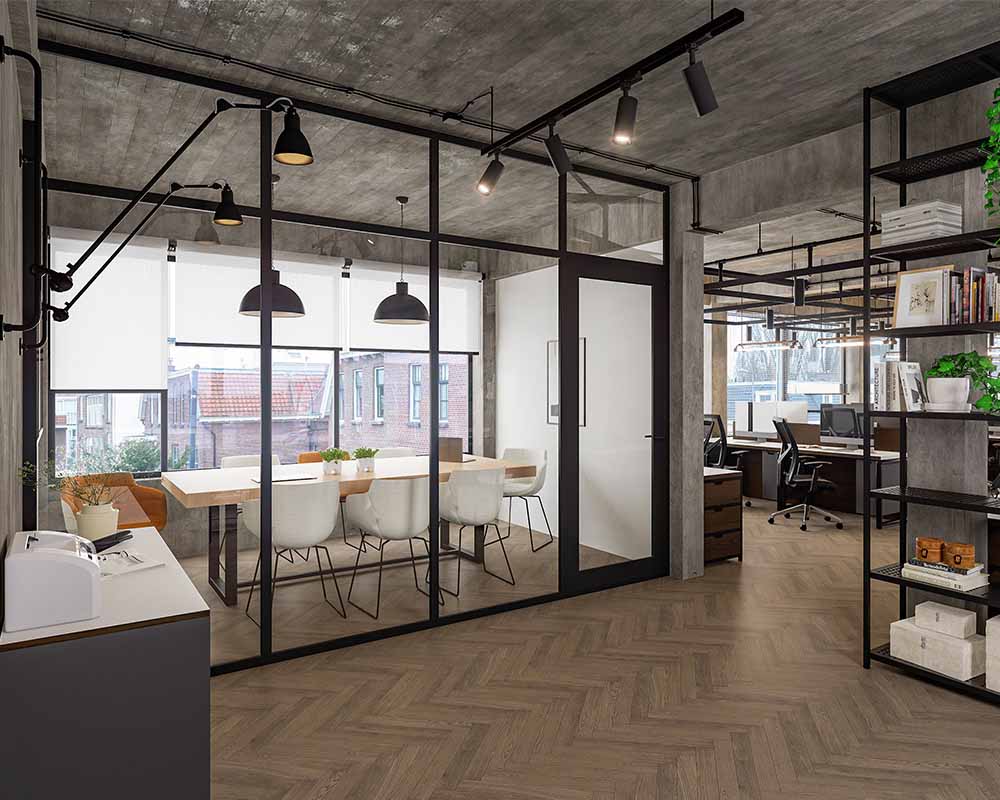
Interior residential and commercial rendering
The cost of the interior residential and commercial rendering depends on the complexity of the rendering, reflecting changes like remodeling or wall removal. The cost varies based on the complexity of the interior design and the level of detail required for visualization.
3D floor plans
While more complex interactive floor plans can be costly, 3D floor plan rendering services assist in creating detailed visualizations.
2D colored floor plans
Prices for 2D colored floor plans offer a simpler alternative to 3D visualizations, with costs varying based on document complexity.
2D black and white floor plans
Among the most cost-effective 2D floor plan options are 2D black and white floor plans. These plans provide a basic yet economical representation of the layout.
Factors influencing pricing
Effective communication plays a significant role in determining the final cost. Clear communication and well-organized project documents can help reduce expenses. Effective communication minimizes mistakes, ultimately leading to a lower overall price